This is the first in a series of blog posts showcasing how you can use Superbase NG to create applications that help your business. This blog will teach you the basics of SIMPOL and Superbase NG by creating a simple membership list program.
Download the free for Non-commercial of Superbase NG to make this yourself: here
Creating the Database and GUI
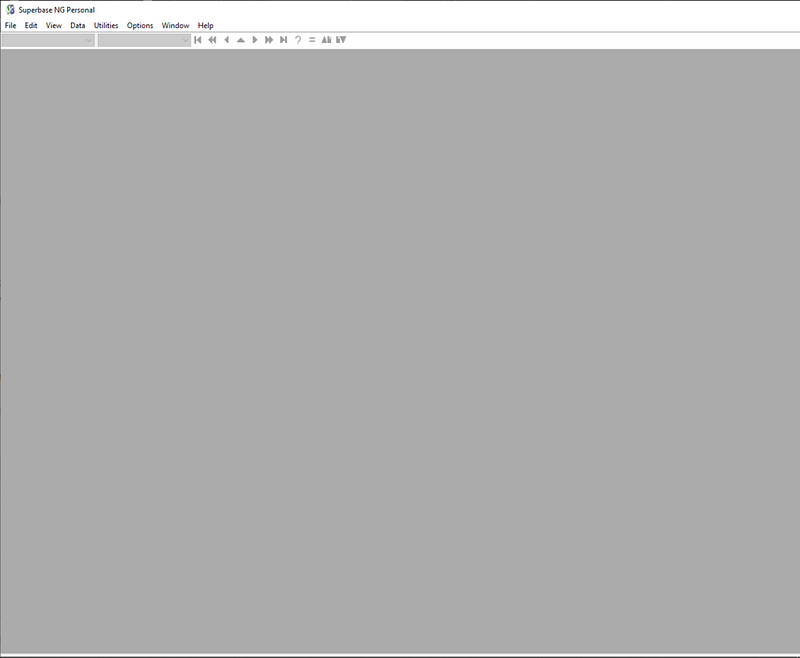
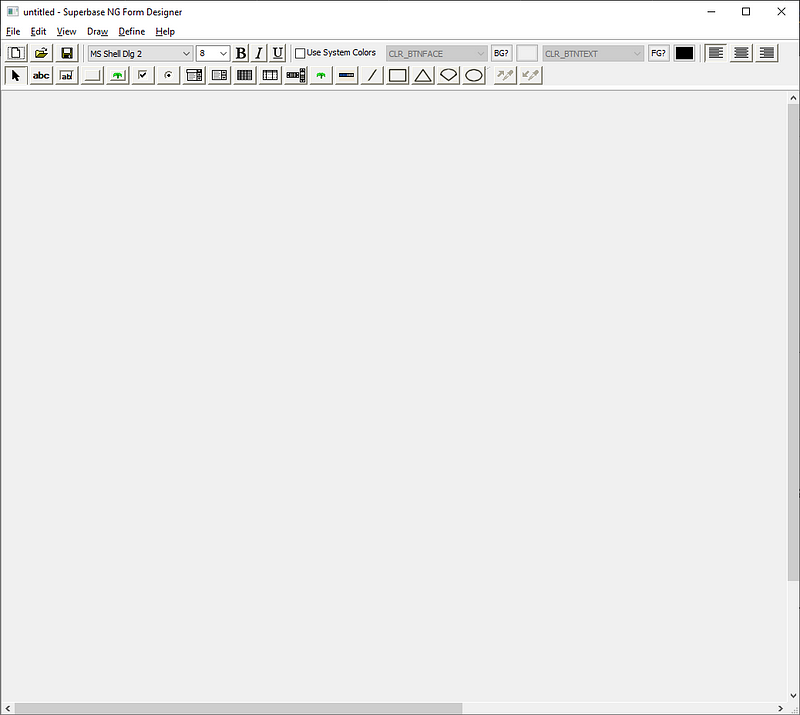
The first part of this process will be creating the database and GUI of your program, a simple process with Superbase NG Personal. Once you start Superbase NG Personal you are greeted with the following screen.
The first thing we want to do is create our membership table, the table should contain all the fields you want to store, as well as a unique membership ID field which will become very useful later. To create a new table go to File > New > Table.
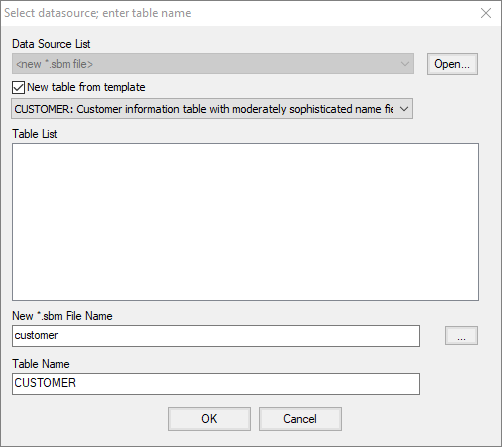
Tick the “New table from template” box and select “CUSTOMER: Customer information table…”.
In Superbase, it is conventional for the table and filename to be the same with the Table Name in all caps and the filename all lower-case. This convention becomes very useful later on but for now, simply save the file.

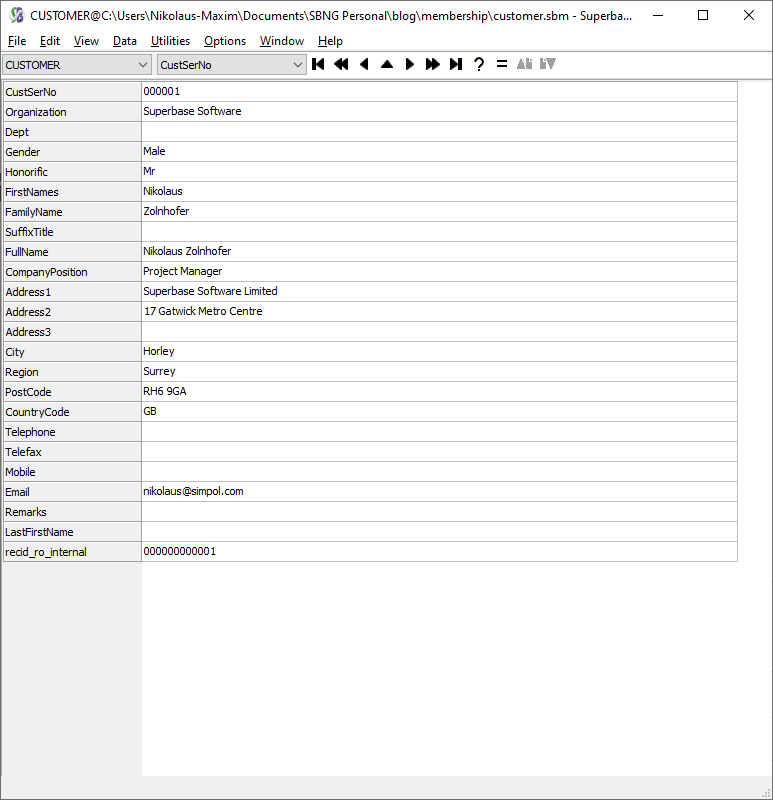
You can change the names, or datatype, of any field by simply double-clicking on any box. The columns of this table are explained in much more detail in our Superbase NG Personal Start Guide. For now, we can exit this popup and start designing the GUI
Creating the GUI
This next step is where you get to be as creative as you like as we’ll be designing the visual part of the application, this may look basic for now, but you can jazz it up as much as you’d like.
The first thing you need to do is create a new form by going to File > New > Form…
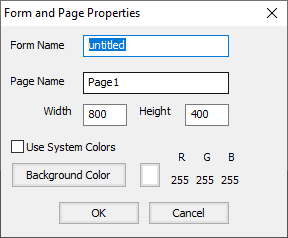
The first thing we want to do is change the size of the form to something more reasonable, to do this, select File > Page Setup… and change the width and height to 800 by 400. We can also change the background colour by specifying the RGB value. Alternatively, tick the ‘Use System Colors’ box and select “CLR_WINDOW” for a white background.
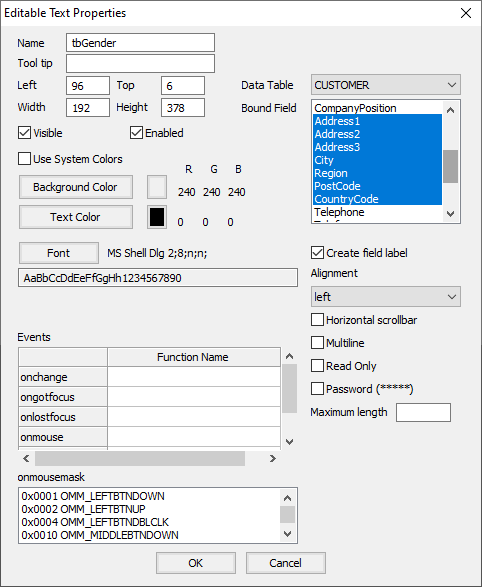
We now have a basic empty form and want to add some form elements onto it. Do this by selecting the Editable Text icon and drawing a large rectangle by clicking and dragging your mouse along the canvas. Once you release the mouse button, a popup will appear. The parts of this popup that concern us are on the right side, namely Bound Field. By holding down the CTRL button, you can select all the fields you want as text boxes on the form. The other thing we want to do is tick the Create field label.
Click OK, and you can now see all the text boxes and their labels. We should now save the form.
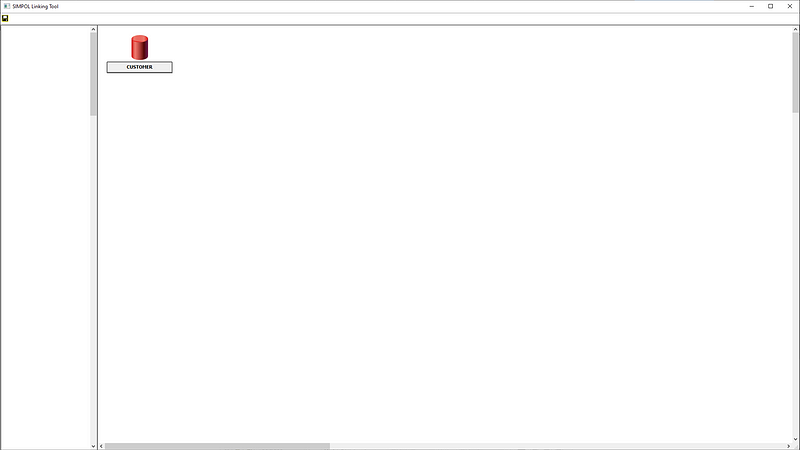
If you get a popup saying “Form contains unlinked controls, continue to save?” Press No, and go to Define > File Links and drag the CUSTOMER Database from the left box to the right. Save the link and now you can save the form without issue.
As you can see, this looks very basic. We should split the text boxes into two sections: Personal Details and Address Information. These should have headings, and we should tidy up the colours to make everything look uniform, maybe even add a logo somewhere.

To tidy up the colours, fonts, etc. the Right-Click Menu and menu-bar are your friends.
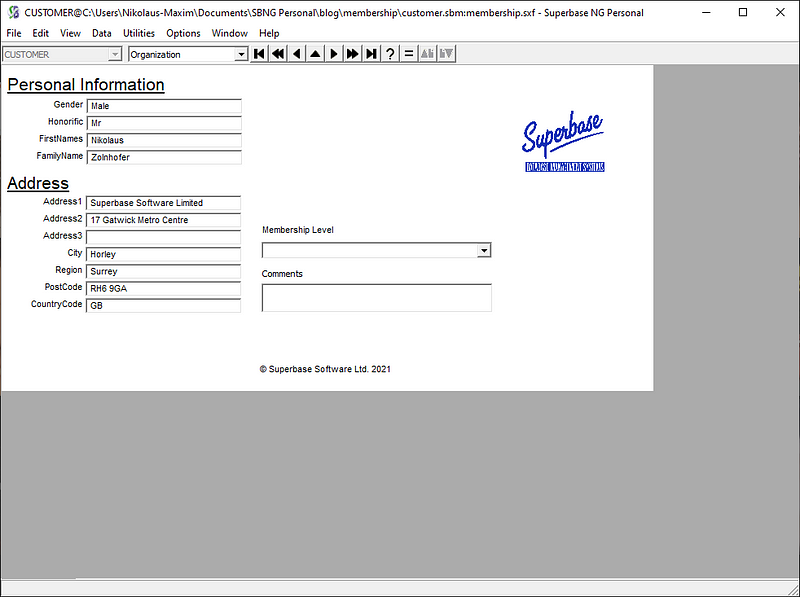
To see what we ended up with, exit the form-designer, and you can see what the form would look like with some data.

We’re nearly done! We can now see all our members records, select a record by index value (click on the ?), and even Add and Delete Records.
But wait… we are missing a very crucial part there is currently no membership field. To add it go to File > Modify > Table… or press F3. This reopens the Database Table Definition, press Add Field, and give the field a name.
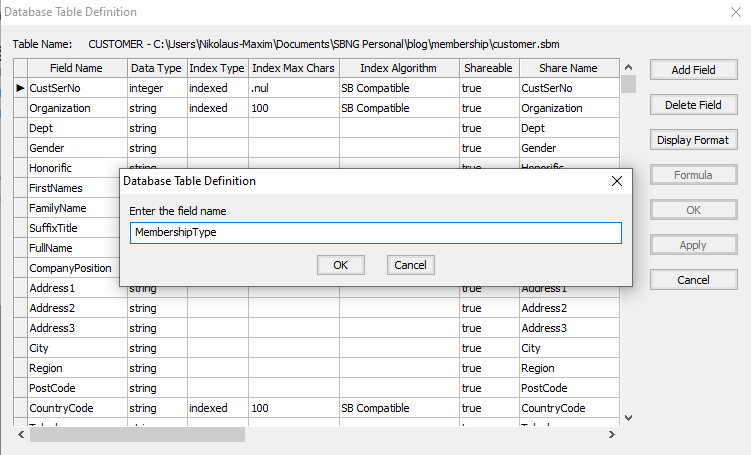
We can optionally index this new field so we can sort by members by level. Additionally, we can change the CustSerNo field to be unique.
There is a bug in the current version of Personal where modifying the table doesn’t work in Form View switch to Record View by going to View > Record
Once this has been done, we can add a dropdown to select between the membership tiers.
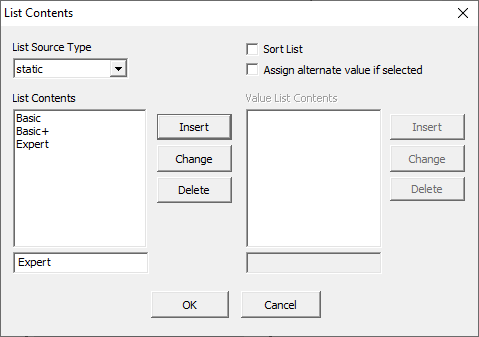
And just like that you’ve created a very simple membership database & GUI