
Print Form Designer
The Print Form Designer is used to create and modify form meant to be printed rather than used for display and data-entry, and forms for printing. They are rarely shown on screen since they can be loaded, populated, and printed without ever showing them to the user. It is generally considered poor design to use a printed form layout for data-entry. Superbase NG printable forms have the extension .sxp and are stored in XML.
Getting Started
Selecting File → New → Print Form... will open an empty print form. The initial print form will be in the default paper size for your system, but will always open to the last size and position of the Form Designer

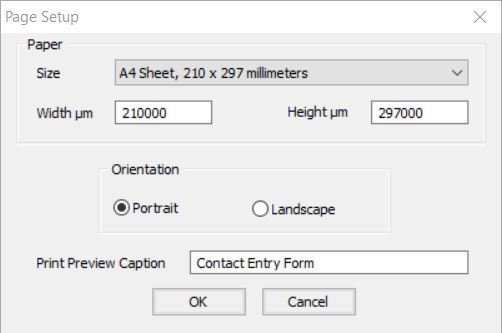
It is a good idea to set the default values for the form when you first begin, to open the Page Setup double-click the page.
| Note | |
| Changing the orientation will automatically internally swap the width and height values, there is no need to alter these |
Print Form Designer Tools
The toolbar, similar to the Form Designer, contains two types of tools: those to create elements and those to modify elements.

This toolbar is slightly different from that of the Form Designer due to the differing characteristics of printed and digital forms. This system, for example, does not support named (system) colours. Again the best way to familiarise yourself with the toolbar is to hover over each item and read its tooltip. Each of the graphical elements that can be placed on the form has specific attributes. Drawing an element is the same in both the Print Form and Form Designer: drag a rectangle on the form which represents the size the item should be, a unique pop up will open which allows fine control over each element.
Adding a Print Control
This process is again similar to the normal form designer. If you want to create data-aware forms open a table, if one is not already open, and drag the elements onto the form.
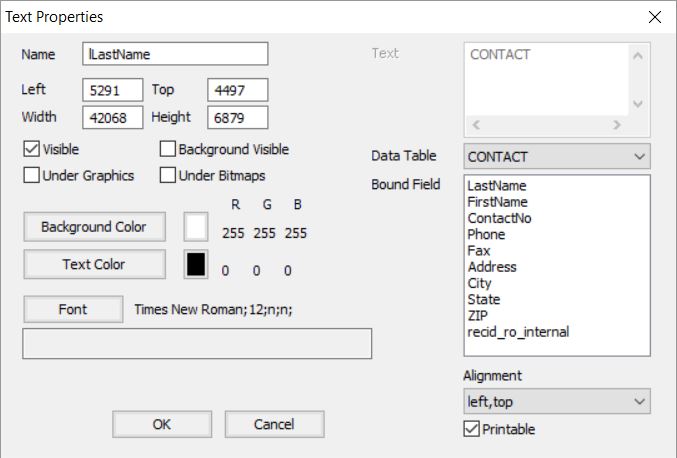
To create static text entries on the form, select <None> from the Data Table drop-down menu and enter your text in the now available, this text can be single or multi-line.
To bind the text entry to control, select a database table from the drop-down menu. Then select a field from the Bound Field list box.
All controls are by default marked as printable if some text should be added as instructions to the user, but not printed uncheck the Printable option
All the coordinates will be in micrometres.
| Tip | |
| It is important to size text boxes with a fairly generous amount of height, since otherwise during a print preview at various magnifications, the text may not render at all. It is easiest to establish how much space to leave from experience and a bit of testing. |
More Print Form Designer Tools
There is again a further set of tools located in the right mouse menu, some of these were present in the form designer, and these will work identically, some form designer tools have been omitted as they aren’t relevant to printed forms.
Distribute is unique to the Print Form Designer, selecting three or more elements will open up the Distribute menu, this works as expected to distribute the selected elements either vertically or horizontally in the selected area.
Instead of the Define menu, there is a Tools menu, it contains slightly different features. File Links works as it did before, although for 1:N links it would be better to use a Quick or Graphic Report. The Z-Order determines the stacking order of controls on the output form. Test Print is used to do a test print of the form, entries that contain a field from a record may not show anything in the test print
Saving and Loading Print Forms
Saving and Loading Print forms works identically to normal Forms, they are saved in the Superbase NG XML format. There is however no way currently to save Print Forms as SIMPOL source code